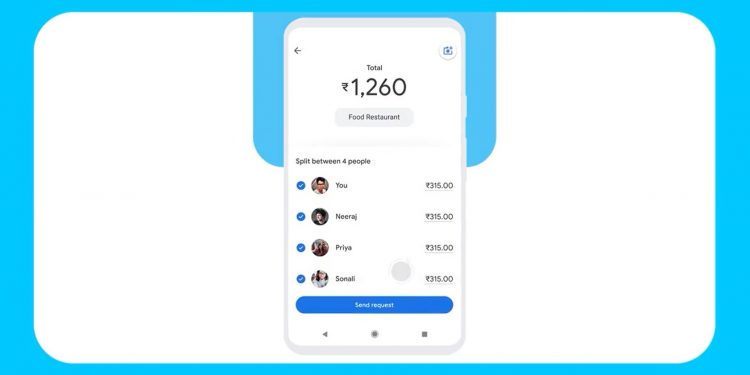
When you go out with friends or colleagues, there is always an issue of splitting bills. Since most people in India nowadays use the Google Pay app for payments and money transfers, you should know that Google has introduced one such feature in its UPI app that will help in splitting bills. In this tutorial, I will tell you how you can use the Google Pay split bill feature.
Steps to Use Google Pay Split Bill Feature
Google announced this bill split feature back at its Google for India event last month. You can use the feature to divide the expenses among your friends. Here are all the steps to use this feature:
Step 1. Create a Group
First of all, you will need to create a group in Google Pay. Here’s how:
1. Open the Google Pay app on your phone.
2. Now tap on “New Payment” and select “New Group” from the top.
3. Then you will see the option to add contacts to the group. You can select the contacts from the list or search for a particular one from the search box.
4. Tap on “Next” to proceed and enter a group name. Then tap on “Create”.
Step 2. Use Split Expenses Feature
Once the group is created, you can use the split expenses feature.
1. Open the group and then tap on the “Split an expense” button from the bottom.
2. Enter the total expense amount and then tap “Next”.
3. Now, the amount will be split among the group members evenly. If you want to remove someone from this, in case he/she has already paid, you can just tap on their name. Tap on “Done”.
4. Next tap on “Send request”.
Then you will be able to see the request in the chat window of the group and also when someone pays their share.
Step 3. Close Request or Delete Group
Lastly, you can close the request once all the members pay their share or even choose to delete the group. Here’s how:
1. Open the group and click on three dots at the top right corner.
2. Tap on “Close request” from the menu.
3. To delete the group, tap the header of the group and go to settings.
4. Here, you can remove the group members one by one by tapping on the minus button next to their name.
5. On the confirmation pop-up, tap on “Remove from group”.
6. Once you remove the group members, you can also leave the group by tapping on the “Leave group” option from the settings. Confirm on the pop-up.
So this is how you can split your bills using Google Pay app.
You can also check out some hidden Google Pay tips and tricks to get the most out of this app. Stay tuned for more tutorials like this!
Source by gadgetstouse.com

